


Description:
The incline push-up is a variation of the traditional push-up where your hands are placed on an elevated surface, reducing the intensity and making it easier to perform.
Benefits:
Incline push-ups are an excellent way to build upper body strength, particularly for beginners. They help to engage the chest, shoulders, and triceps while placing less stress on the wrists and lower back.
Profile:
| Equipment: | Bench or Elevated Surface |
| Type: | Bodyweight |
| Tempo: | 2-1-2-0 |
| Level: | Beginner |
Muscles:
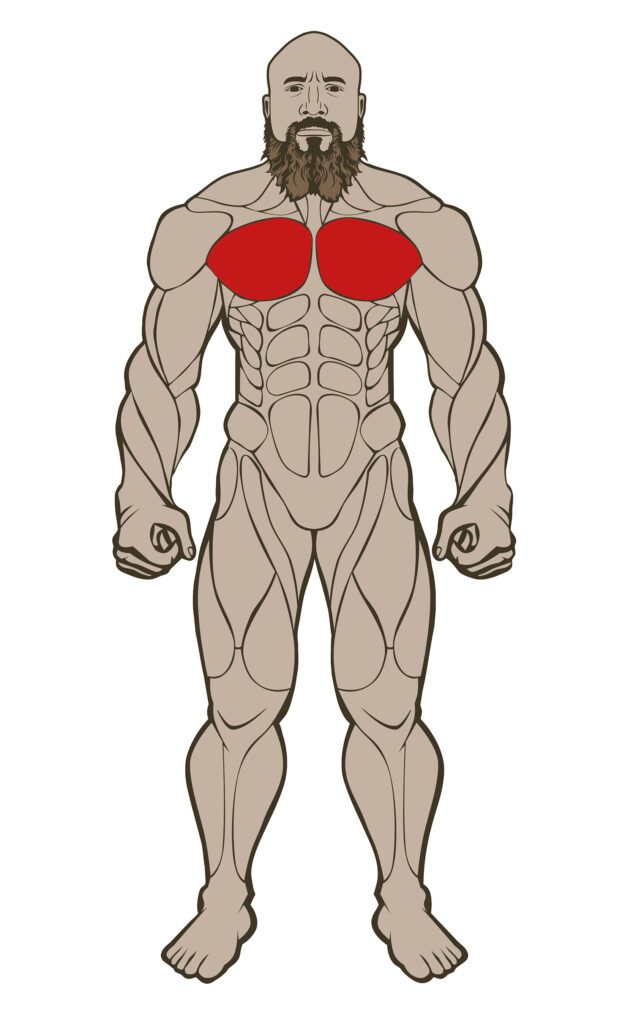
Primary Muscles
- Pectorals (Lower)
Secondary Muscles
- Deltoids
- Triceps
- Core
Classification:
| Utility: | Basic |
| Mechanics: | Compound |
| Force: | Push |
Instructions:
- Step 1: Place your hands on an elevated surface such as a bench or step, and assume a plank position with your body in a straight line from head to heels.
- Step 2: Keep your feet together and your core engaged.
- Step 3: Lower your body by bending your elbows until your chest nearly touches the bench.
- Step 4: Push through your hands to return to the starting position.
- Repeat the movement for the desired repetitions.
Common Mistakes:
- Sagging hips
- Flaring elbows
- Inconsistent range of motion
- To avoid these mistakes, maintain a strong core, keep your elbows at a 45-degree angle, and ensure full range of motion on each rep.
Variations:
- Standard Push-up
- Decline Push-up
- Diamond Push-up
- Wide Grip Push-up
- One-arm Push-up
- Plyometric Push-up
- and many more
Links to each will be provided as they are added to the website.
Safety Tips:
- Always perform a proper warm-up before doing incline push-ups.
- Start with a higher elevation if you are a beginner and progress to a lower one as you build strength.
- If you have any pain or discomfort, stop the exercise and speak with a trainer.
Additional Information:
Incline push-ups are an excellent exercise for those who are new to push-ups or looking to reduce the intensity. They can also be used as a warm-up for more advanced push-up variations.
EXERCISES

Comments are closed